Groups
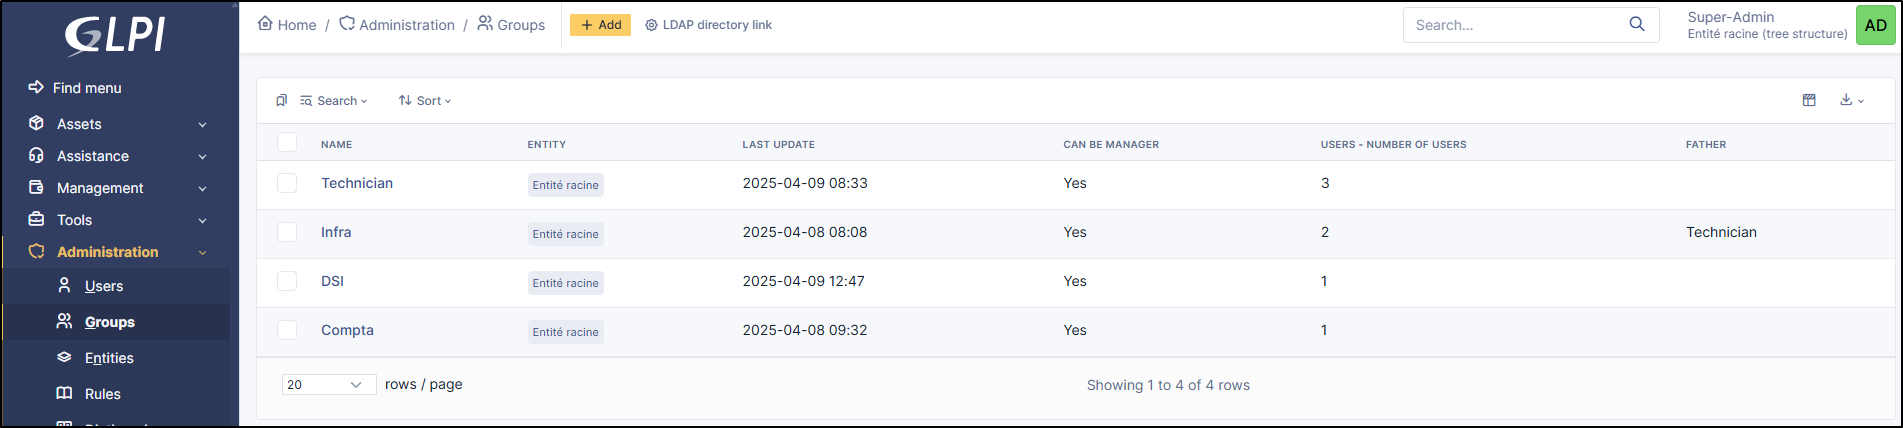
Groups tab allows to add, modify, delete, search groups.
Groups can be defined in a hierarchical structure in order to ease navigation and search.
Management > Division > Service or N3 Support > Network > LAN
Groups can be used in several way to group users by:
Skills: for the helpdesk, for example network technicians, or database administrators,
Organizational groups: for example all the computers of the management or the accounting department but also set of persons to be notified.
The options available to adjust these behaviors are:
Visible in a ticket: requesting group and/or assignment to this group;
Can be notified: recipient of notifications;
Can be manager: only for a project;
Can contain: assets and/or users.
In an item form, 2 notions of groups are available:
Technical group which indicates which group of people is in charge of the asset (equivalent for a group of the technical manager)
Group which indicates to which group of items it belongs.
Note
The technical group can allow the automatic assignment of a ticket to a group of technicians, see the ticket categories in the chapter configure dropdowns. Likewise, it can be used in Business rules for tickets.
Indication
If all options are set to No, the group will not appear in any selection list; this can be useful for a group that is deleted and kept for history or for adding empty groups in the hierarchical structure.
A group can have one or more managers, concept which can then be used for notifications, for example to send an email to the manager(s) of the group when a ticket is opened, see notification management.
The concepts of manager can be configured in the « Users » tab.
Assigning a user o a group is either static and done using the GLPI interface, or dynamic when this is automatically extracted from the LDAP directory.
A group is attached to the entity in which it is created and can then be visible in sub-entities.
From the list of groups, a group can be imported from a LDAP directory via the LDAP directory link button if external authentication is used and the « Auth and sync update » authorization is granted in profile. The assignment of users to groups will be automatic, see Profiles. If several directories are configured, the choice between directories is proposed, otherwise the search form is directly accessible.
Depending on how you search for groups (see Authenticating users from LDAP directories), a Search filter in groups and/or a User search filter appear. These allow to refine the list to be imported. If multiple entities exist in GLPI, it is necessary to select the destination entity of the group as well as its visibility in the sub-entities.
Note
Importing groups cannot be filtered by entity. In addition, no group synchronization function is available. The only way to refresh from a directory the list of group members is to resynchronize users, see Import users from an external source.
Import groups
In Administration > Groups > LDAP directory link (at the top of the page), you have the option to import groups. Depending on the settings made, users will be managed dynamically.

For more information go to setup LDAP
Child groups
This tab allows to add a subgroup to the selected group and lists the existing subgroups. Each subgroup created will also be visible in Administration > Groups
Used items
Tab Used Items tab lists the elements for which the Group field corresponds to the current group. The search can be extended to sub-groups as well as to the members of the group (User field of the item).
Managed items
Managed Items tab lists the elements for which the Technical Group field corresponds to the current group. The search can be extended to sub-groups as well as to the members of the group (Technical manager field of the item).
LDAP directory link
This tab only appears if the « Auth and sync update » authorization is granted in profile; it gathers the information allowing GLPI to find the group and its users in the LDAP directory.
Security
In this tab you can force or not the use of 2FA for a specific group
Users
This tab allows to add a user to this group by defining whether the added user is manager of the group. It also lists the users of this group with possible search by this criteria and also in the subgroups of the current group.
Notifications

List of notifications for which destination is group or group supervisor
Created tickets
List all tickets created or assigned to the group.
If a ticket is created by a group member, but the requester is not explicitly the group, the tickets will not be visible here.
Show all allows you to show all tickets created or assigned, you will then be redirected to Assistance > Tickets
Problems
List all problems created by the group.
Show all allows you to show all problems created by the group, you will then be redirected to Assistance > Problems
Changes
List all changes created or assigned to the group.
Show all allows you to show all changes created by the group, you will then be redirected to Assistance > Changes
Notes
Note lets you add enriched text and attach a document.
History
The History tab is used to show any changes made to an item. The following information about the changes is available:
ID of the change.
Date and time the change was made.
User who made the change. If this field is not filled, it means that the action was done automatically (For example: automatic inventory update).
Field that was changed.
Description of the change that was made.
The description of the change represents either the difference between the old and the new value (For example with location field: Change HQ to Remote Office A), or the explanation of the action which was carried out (For example: Uninstallation of a software: « Gimp 2.0 »).
Note
For dropdowns or objects with a parent/child relationship, the modification of a child will appear in the history of the parent element.
All Information
For an item, all information is displayed on one page from the All tab. This shows all of the tabs of an object’s form in one view, one below the other.