Licenses
Licenses management in GLPI allows to manage software licenses:
Inventorying licenses, with links to software inventoried in GLPI;
Following license installations on all assets;
Linking licenses to financial management;
Anticipating and following licenses renewal.
Note
A license cannot exists in GLPI without a software associated to the license when creating it.
License management is not automated, a human follow-up is needed for information update.
Note
It is possible to use templates to generate this object.
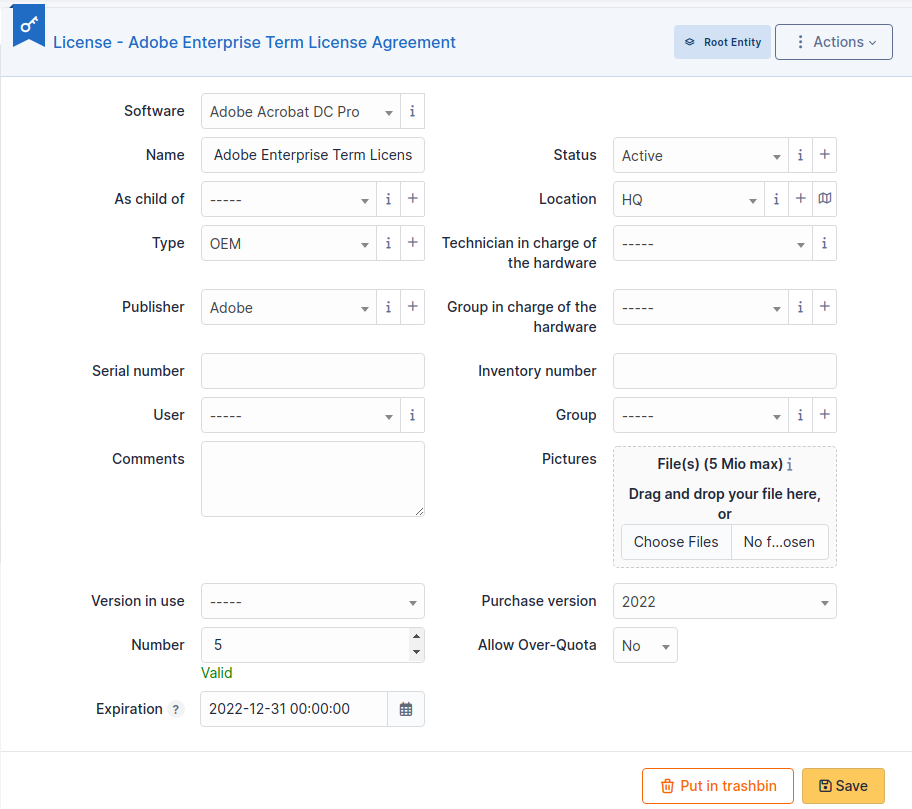
Description of specific fields
As child of: allows to specify if the license is dependent upon another license;
Version in use: the version of the software associated with the license;
Purchase version: the purchase version, which can differ from Version in use; if different, this field indicates it;
Number: the maximum number of uses of the license by assets;
Allow Over-Quota: allow or not the overflow of maximum number configured in field Number;
Expiration date: expiration date of the license, useful to configure alerts and anticipate renewal.
Licenses
This tab lists all licenses declared as child of this license.
Note
Some licenses can be obtained by pack or by group, linking them by child/parent relationship allows to declare it.
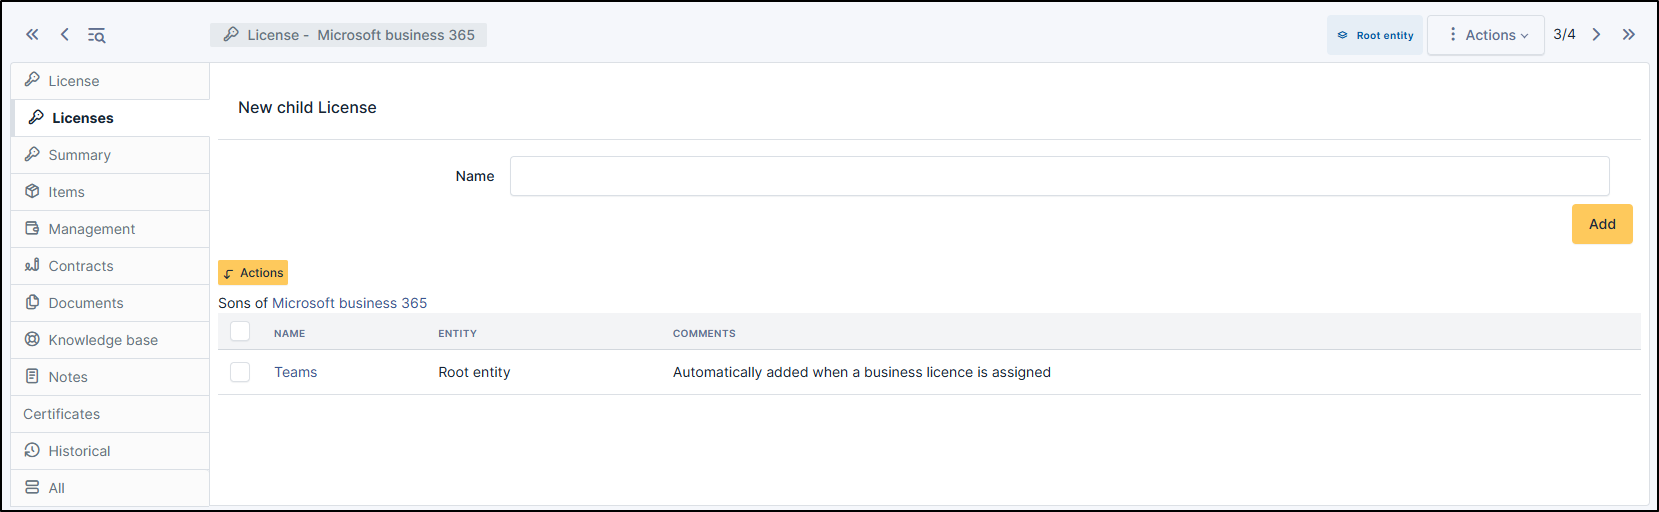
To add a child license, you need to create a license from software and enter the parent license in the as child of field.
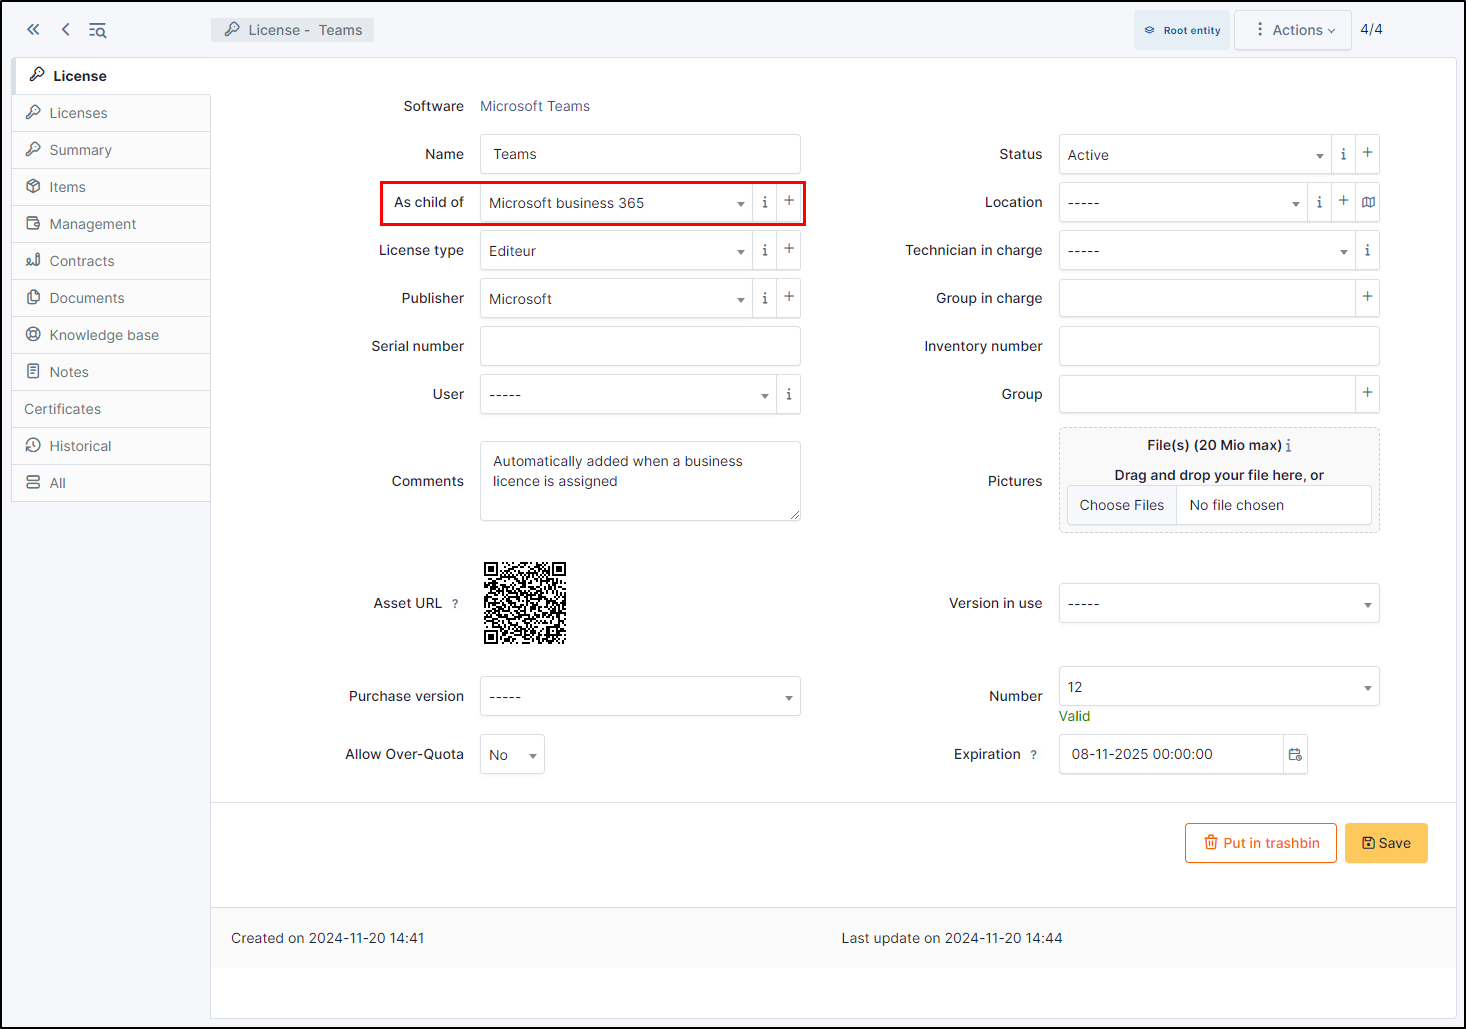
To unlink/modify/delete a child/parent, you can modify the entry in this same field
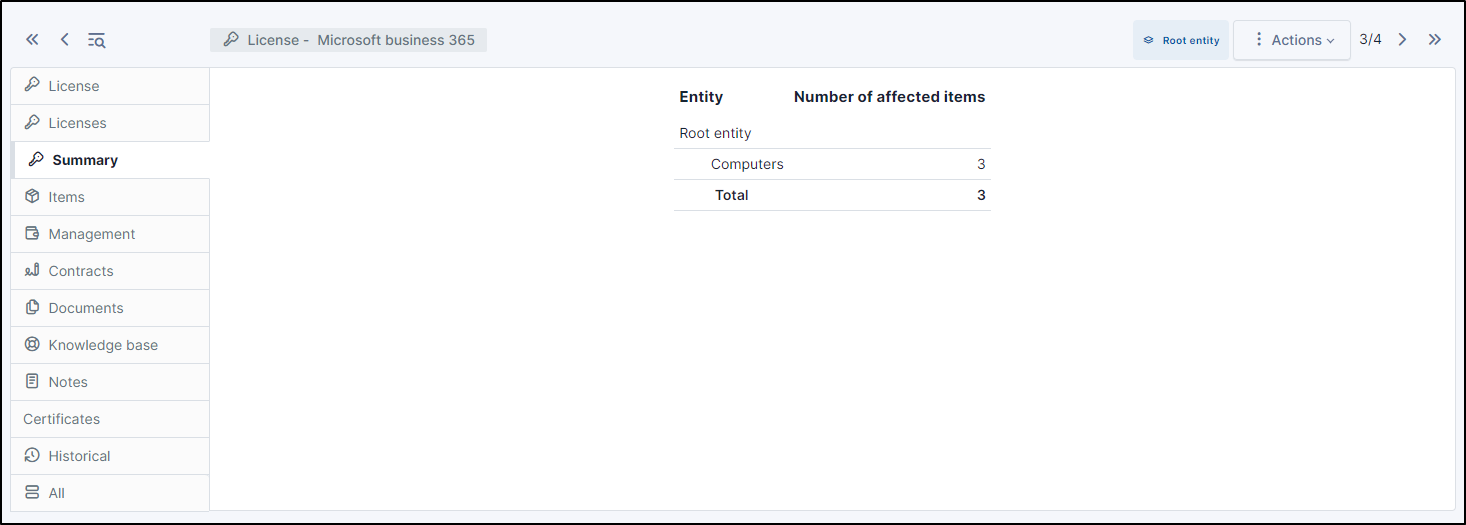
Summary
This tab lists all types and entities of items linked to this license.
Note
The number of installations must be carefully checked against the field Number of the license.
Creating a link between an asset and the license id done in tab Softwares of the asset.
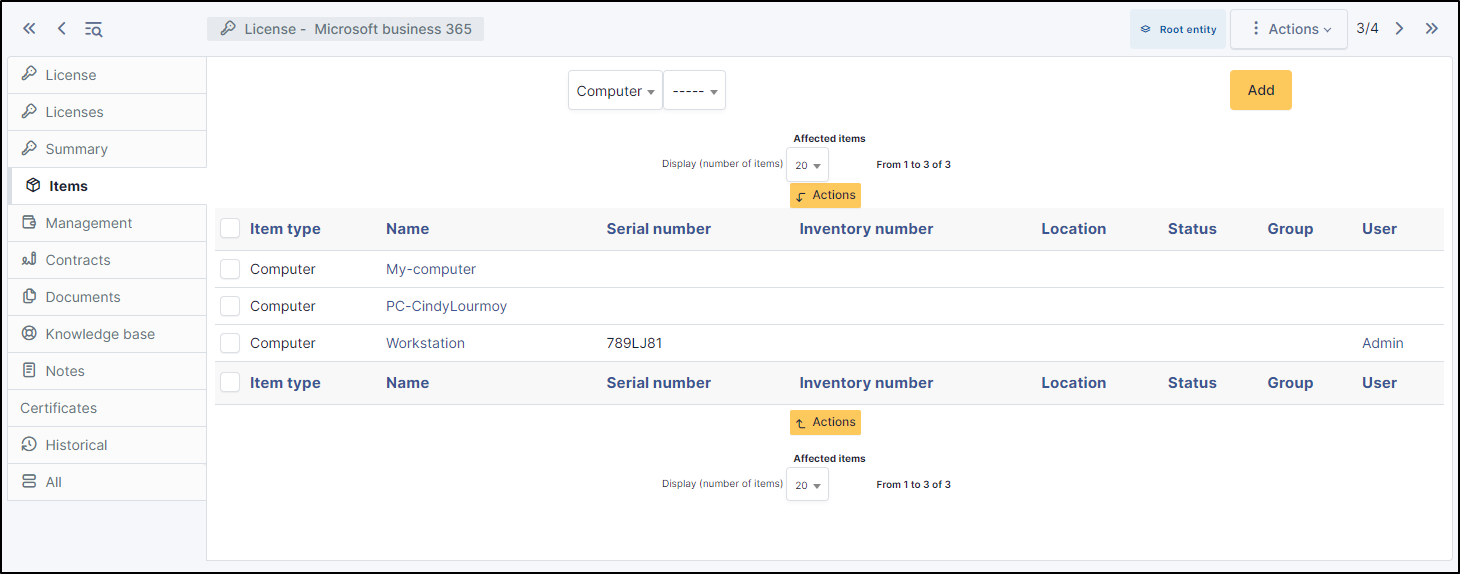
Items
This tab details each item linked to the license.
Management
Management of financial and administrative information, this information is visible in the “Management” tab on the computer’s form.

By default this management is disabled. It is possible to activate the financial information on any type of object in the inventory by using the link in the Management tab of the material detail.

Note
It is possible to activate the administrative and financial information from the massive actions on a set of elements (computer, monitor, …)
Note
It is possible to activate the administrative and financial information as soon as an element is created. See « Enable default administrative and financial information » option in Setup > General > Asset tab.
Financial information consists of the following items:
Lifecycle
Order date
Date of purchase
Delivery date
Date of implementation
Date of last physical inventory
Date of reform
Financial and administrative information
Supplier: Third party who sold the equipment. See Managing suppliers. Suppliers are managed from the menu Management > Suppliers.
Order number : number of the order of the equipment.
Asset number.
Invoice number: equipment invoice number.
Delivery note: delivery note for the equipment.
Value: cost of the equipment.
Warranty extension value: cost of the warranty extension, but preferably use contracts.
Account net value: this is the automatic calculation of the gross value of a piece of equipment minus the amount of depreciation.
Type of depreciation: choice of the type of depreciation between linear and declining balance.
Depreciation period: depreciation period expressed in years.
Depreciation coefficient: coefficient applied to a straight-line depreciation type in order to obtain the values of the declining balance type. It is therefore only used if the type of depreciation is declining balance.
TCO (value+amount of interventions): the total cost of ownership which includes all the constituent elements of an invoiced product.
Budget: the budget on which this equipment was purchased See Managing the budget.
Order date: date on which the material was ordered.
Purchase date: date on which the equipment was purchased.
Delivery date: date on which the equipment was delivered.
Startup date: date on which the equipment was put into service.
Date of last physical inventory: date of the last physical inventory of the equipment.
Comments.
Monthly TCO: TCO divided by the number of months between today’s date and the date of purchase of the equipment.
Warranty information
Warranty start date: date on which the warranty of the equipment starts
Warranty information: text qualifying the warranty
- Warranty period: duration of the warranty expressed in months
If a warranty start date and a warranty period are set, the information « Expires on » will appear with a date in red if it is earlier than the current date
All the dates defined can be managed automatically according to changes in the status of the equipment. Some dates can also be copied from another date. All this configuration is done by [entity](administration_entity_delegation.dita).
Tips
GLPI allows you to configure a notification on the expiry of the hardware warranty. This is configurable by entity in notification management to define the models and recipients used and in the administration of entities to enable or disable this feature, define the default values and anticipate the sending of the notification if necessary.
GLPI can perform a simple net book value calculation based on straight-line or declining balance depreciation. To do so, a certain amount of information (value, date, etc.) must be entered. The user must also enter the date of the financial year the general configuration.
The display of financial information for each type of equipment depends on the profile of the user logged in.
Associated Contracts
The Contracts tab is used to show or add linked contracts.
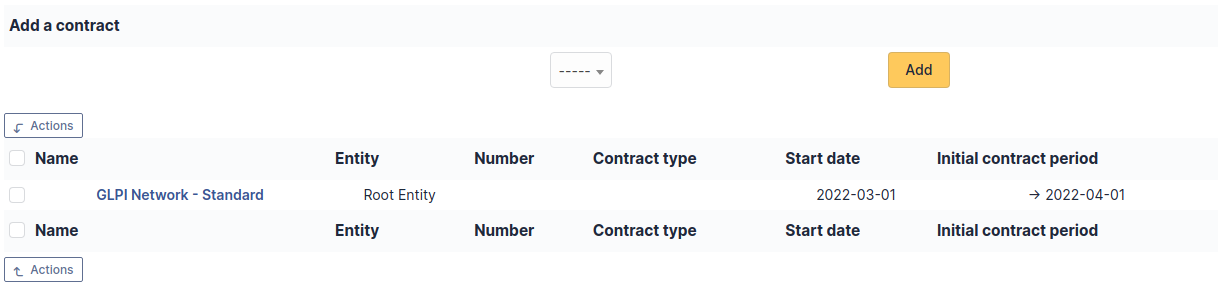
For each associated contract, the name, number, contract type, supplier, start date and initial duration of the contract are listed. In the last field, the end date of the contract is also shown with a red display if the date is earlier than the current date.
Refer to contract management for more information.
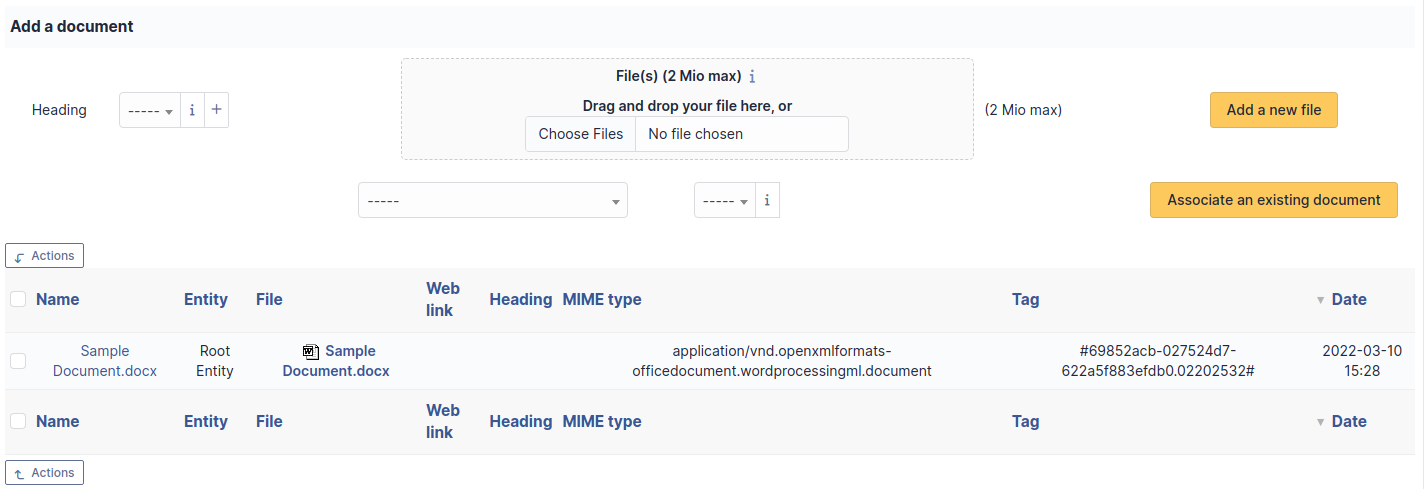
Documents
Additional information is stored in the form of external documents which are files uploaded into GLPI. In the Documents tab, documents can be associated and unlinked with the selected item. The management of the documents themselves is dealt with in another chapter.
It is also possible to quickly create a document via this tab by specifying the desired file and optionally the field in which the new document is to be placed. The name of the created document will be based on the name of the added file.
Note
When you delete a document from this tab via mass actions, you only remove the link between the object and the document; the document itself is still present.
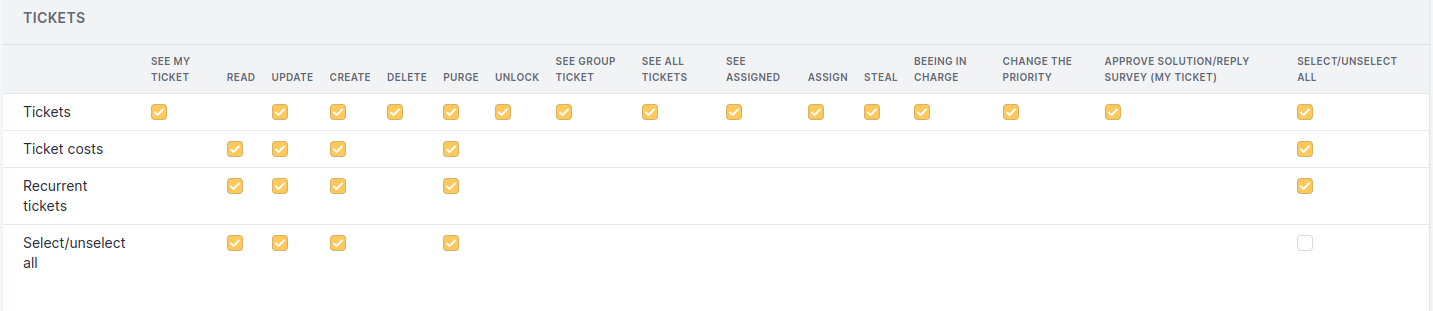
Tickets
The Tickets tab is used to create a ticket associated with the current object. It also lists the tickets already linked to the object.
You can create a new one and then link it by clicking on New tickets for this item.
You cannot link an existing ticket here. If you want to link an existing ticket, go to assistance > tickets. Select the relevant ticket and go to the item tab
Note
A second table lists the tickets attached to the linked elements
Note
Any deletion or addition of a ticket is recorded in the history.
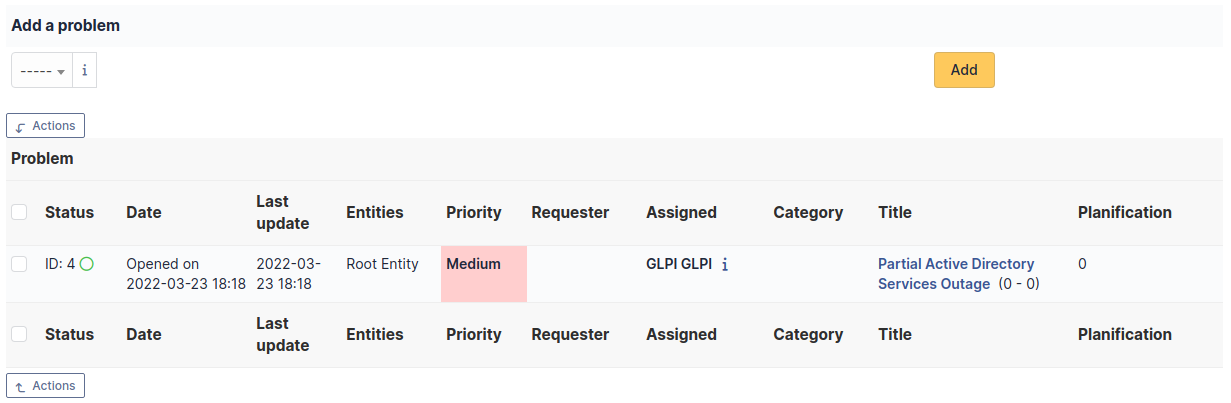
Problems
The Problems tab is used to create a problem associated with the current object. It also lists the changes already linked to the object.
This summary table includes for each object:
Status
Date (opening or expiry date, resolution or closing date depending on the status of the problem)
Priority
Requester(s) and assigned technician(s)
Associated elements
Category
Name
Column indicating the number of scheduled tasks
Note
A second table lists the problems attached to the related elements
Note
Any deletion or addition of a problem is recorded in the history.
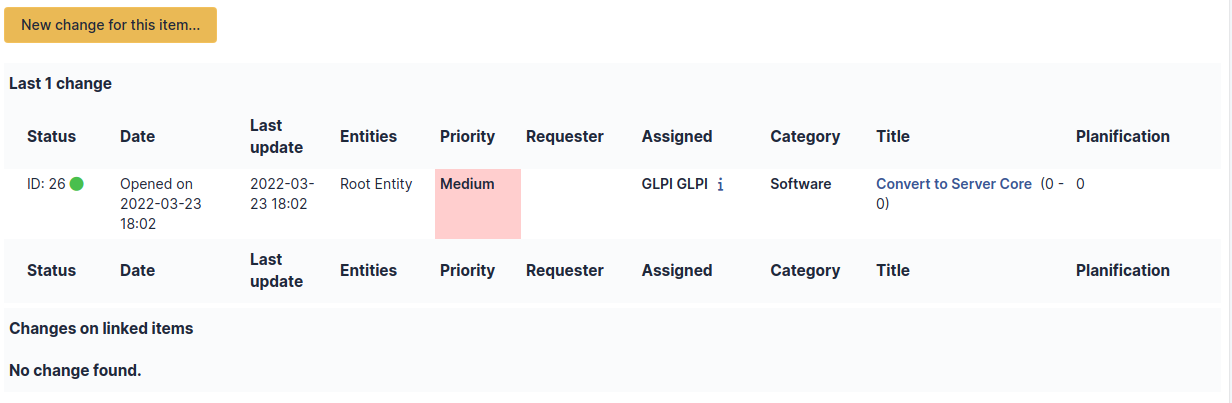
Changes
The Changes tab is used to create a change associated with the current object. It also lists the changes already linked to the object.
This summary table includes the following fields for each object:
Status
Date (opening or expiry date, resolution or closing date depending on the status of the change)
Priority
Requester(s) and assigned technician(s)
Associated elements
Category
Name
Number of scheduled tasks
Note
A second table lists the changes attached to the related elements
Note
Any deletion or addition of a change is recorded in the history.
Notes
The Notes tab provides a free text field for storing additional information. Notes are displayed in the order of their creation. You can also add a document
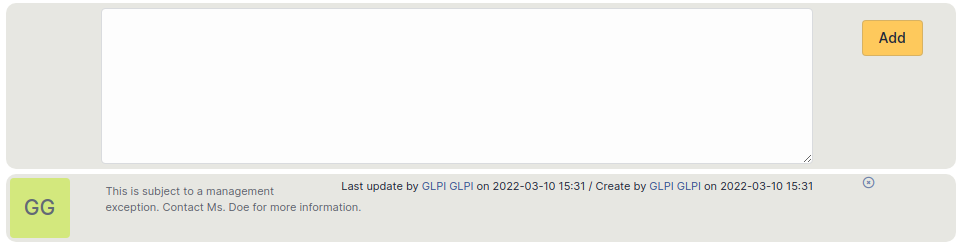
Add a note
To add a note, click on +Add
You can add text and format it to suit your needs
You can add a document to this note
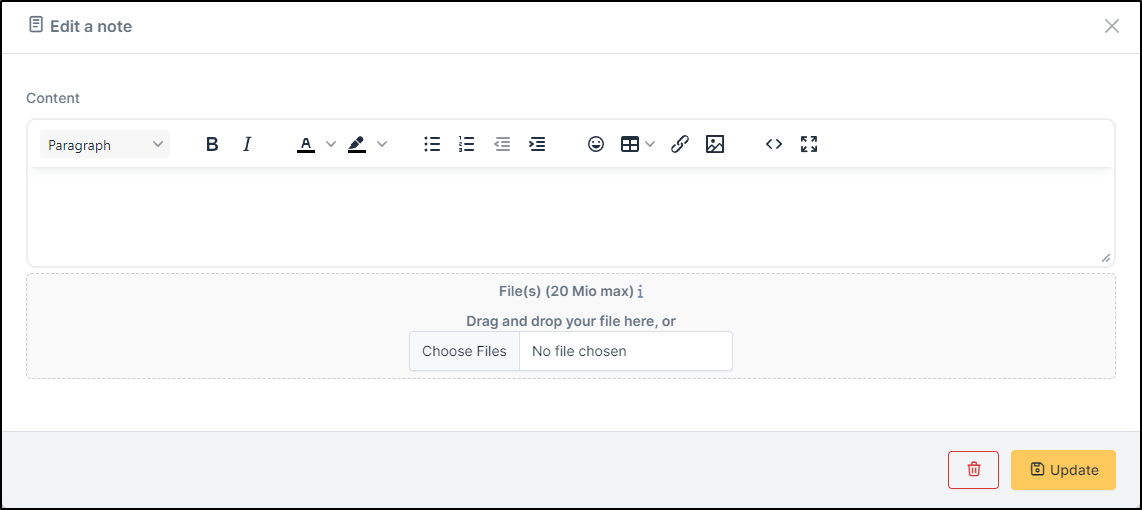
Delete a note
To delete a note, you need to click on delete
You can delete only the attachment by clicking on delete (the option appears when you move your mouse over the attachment)

Astuce
When you delete an attachment, it is not completely deleted, you can find it in Management > Documents
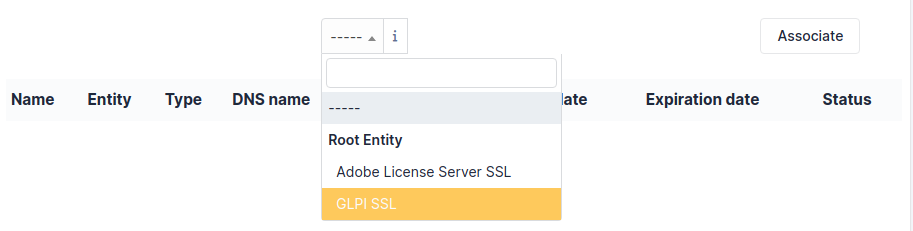
Certificates
This tab allows to attach a certificate present in GLPI to the license.
History
The History tab is used to show any changes made to an item. The following information about the changes is available:
ID of the change.
Date and time the change was made.
User who made the change. If this field is not filled, it means that the action was done automatically (For example: automatic inventory update).
Field that was changed.
Description of the change that was made.
The description of the change represents either the difference between the old and the new value (For example with location field: Change HQ to Remote Office A), or the explanation of the action which was carried out (For example: Uninstallation of a software: « Gimp 2.0 »).
Note
For dropdowns or objects with a parent/child relationship, the modification of a child will appear in the history of the parent element.
All Information
For an item, all information is displayed on one page from the All tab. This shows all of the tabs of an object’s form in one view, one below the other.
Note
You can prevent certain software, such as Microsoft KBs, from being brought up. To do this, you need to set their parameters in Management > Dictionaries