Contracts
GLPI supports contracts management, in order to manage contract types such as loan, maintenance, support…
Contracts management allows to:
make an inventory of all contracts related to the organization assets
integrate contracts in GLPI financial management
anticipate and follow contract renewal.
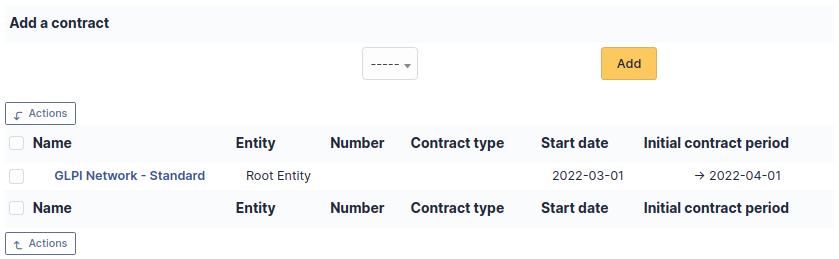
To add a new contract, click on + Add at the top of the screen
Astuce
You can use template to add a new contract
Note
It is possible to receive notifications in order to be informed of events such as contract end. When contract must be renewed expressly, it is useful to be notified before end of contract. For periodic contracts, it is also possible to be notified at the end of each period. Notifications are configured at entity level, in menu Setup > Notifications to define models and destination and in menu Administration > Entities to enable notification, define default values and a possible anticipation of notification.
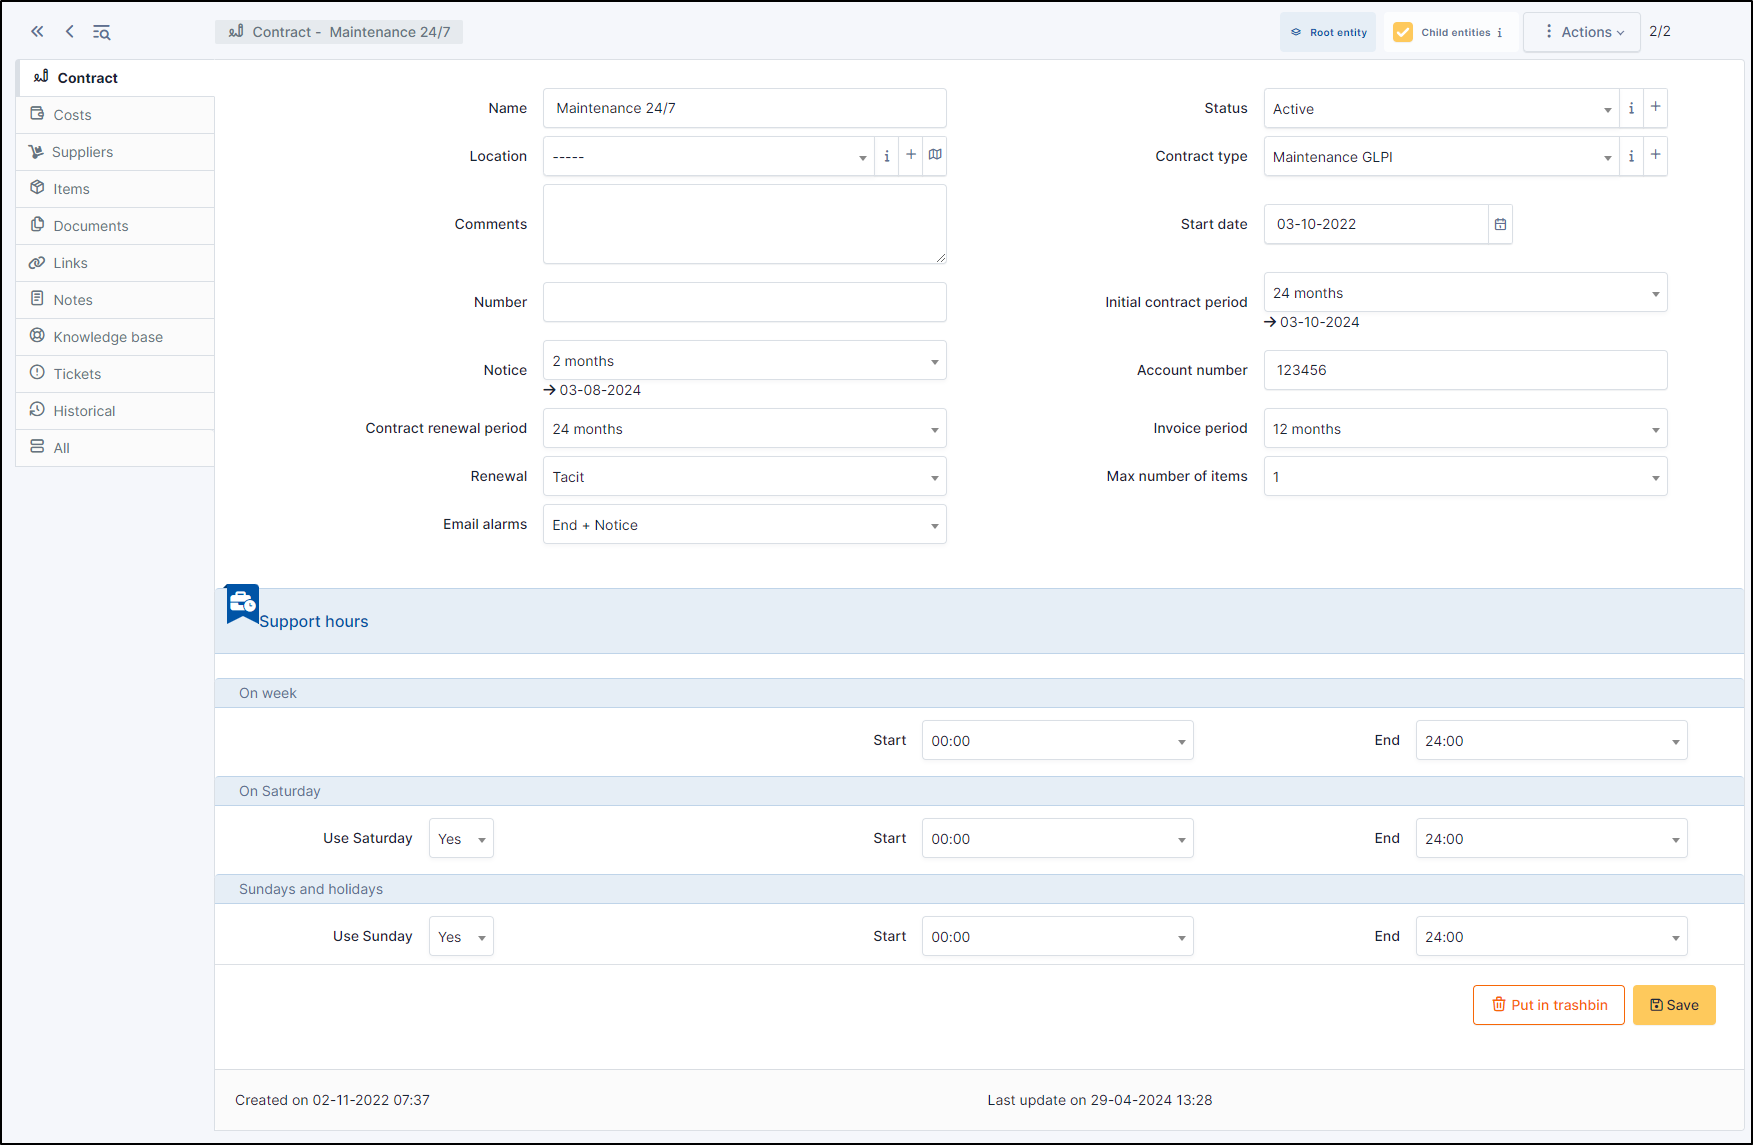
Description of specific fields
Contract type: by default, no contract type is defined, contract types must be configured in drop-down configuration;
Number: contract number;
Start date: date at which contract starts, all periodicity based events are computed using this date;
Initial contract period: if this field and start date are given, contract end date will appear, colored in red if contract has expired;
Notice: used to trigger alert notifications;
Account number: used to connect with company accounting software;
Contract renewal period: duration after which contract renewal is available;
Invoice period: duration between invoices;
Renewal: Tacit (the contract is automatically renewed if no party has ended it) or Express (needs agreement for renewal);
Max number of items: attaching new items to this contract will be blocked when overflowing this number;
Support hours: support hours as defined in the contract, it is possible to distinguish week days, Saturdays and Sundays/holidays.
The different tabs
Costs
This tab allows to define a cost related to the contract and linked to a GLPI budget: the cost of the contract will be imputed to this budget.
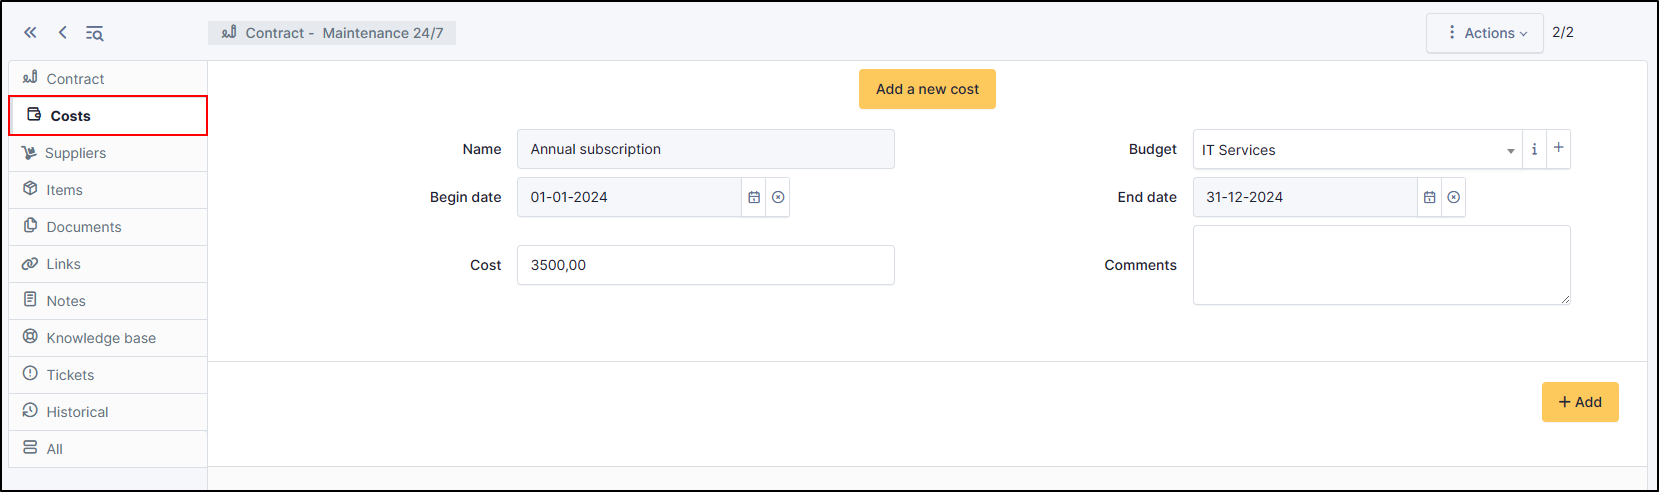
To add cost, click on Add a new cost
Enter a name
The start and end dates of the costs covered by the contract
If a budget has already been created, select it from the list, otherwise go to budget
Enter the real cost
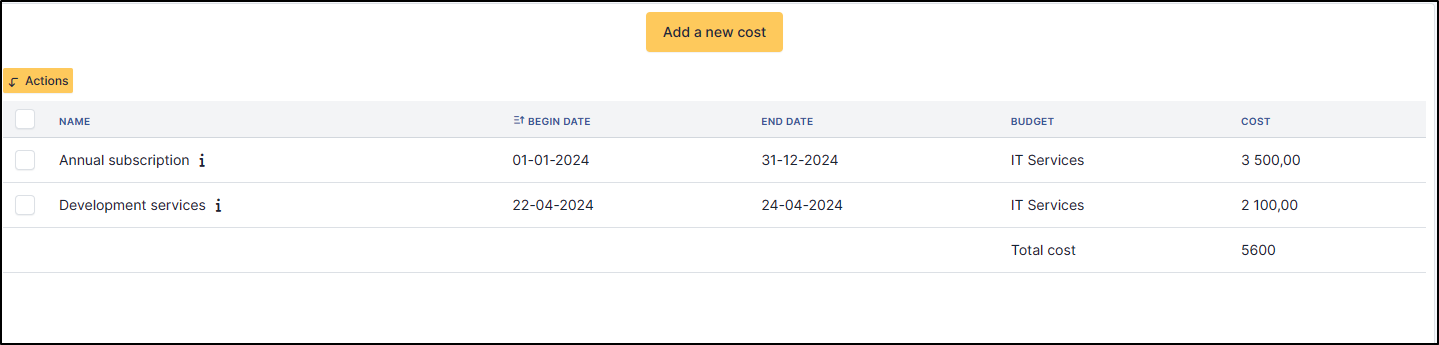
All the costs you add will be visible and added together in this same tab.
Suppliers
This tab allows to associate one or several suppliers to the contract.
To add a supplier, select it from the drop-down list
If there are none, go to supplier
Items
The Items tab is used to show or add linked assets.
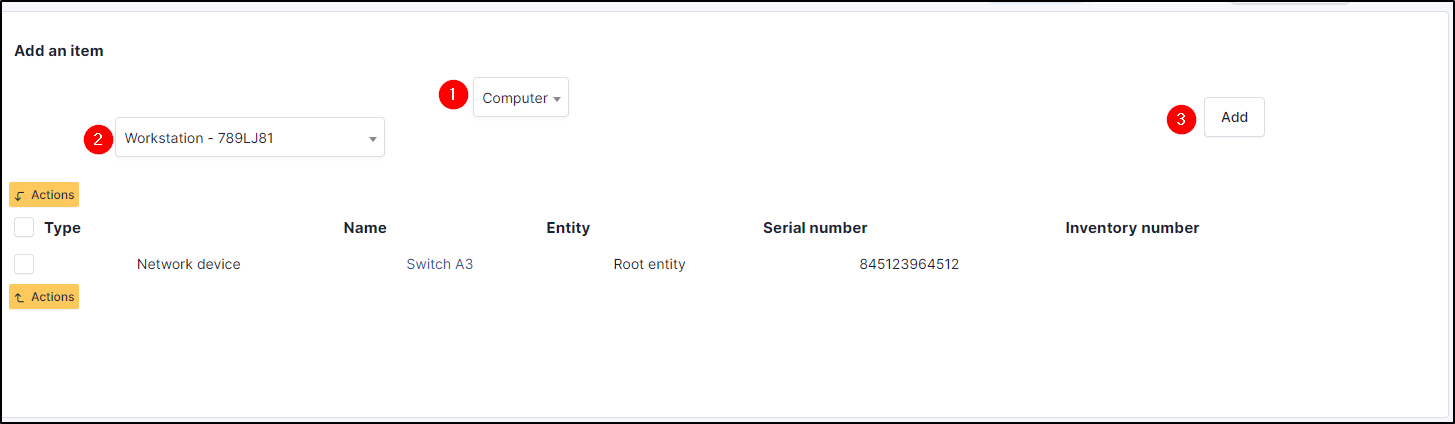
To link an item to a GLPI object, you need to go to the item in question (e.g. a computer).
In the item tab of this object, select the appropriate item
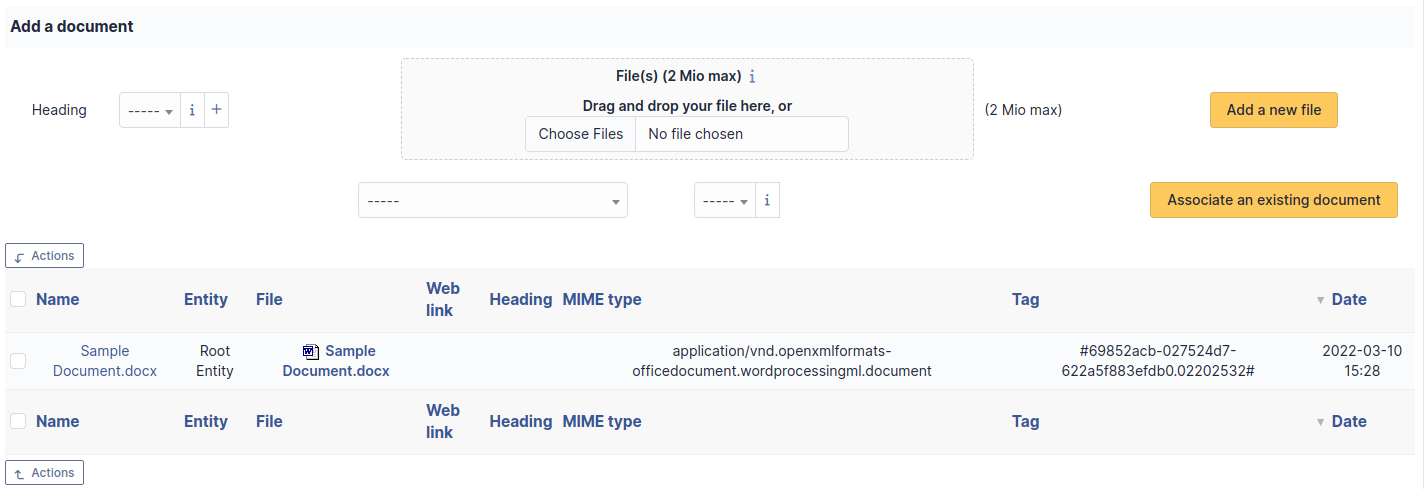
Documents
Additional information is stored in the form of external documents which are files uploaded into GLPI. In the Documents tab, documents can be associated and unlinked with the selected item. The management of the documents themselves is dealt with in another chapter.
It is also possible to quickly create a document via this tab by specifying the desired file and optionally the field in which the new document is to be placed. The name of the created document will be based on the name of the added file.
Note
When you delete a document from this tab via mass actions, you only remove the link between the object and the document; the document itself is still present.
External Links
The External links tab is used to show associated external links.
For some items, external links are managed from the menu Setup > External links.
These links can use object fields such as IP, name, etc.
See Configure protocol external links.
Examples:
A web link: http://192.168.0.1 (IP retrieved from the network port of the hardware) ;
A RDP link for remote access: glpi://MSTSC.EXE,pc001 (name « pc001 » retrieved from the hardware).
Notes
The Notes tab provides a free text field for storing additional information. Notes are displayed in the order of their creation. You can also add a document
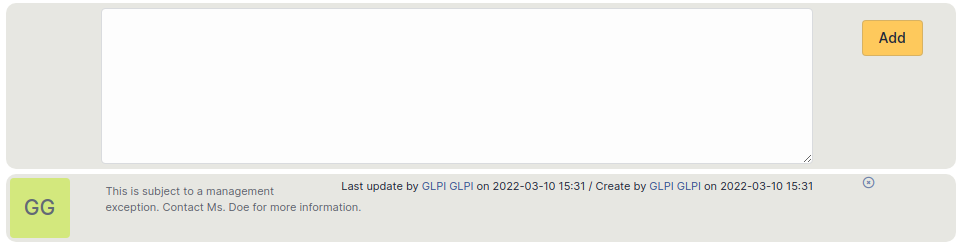
Add a note
To add a note, click on +Add
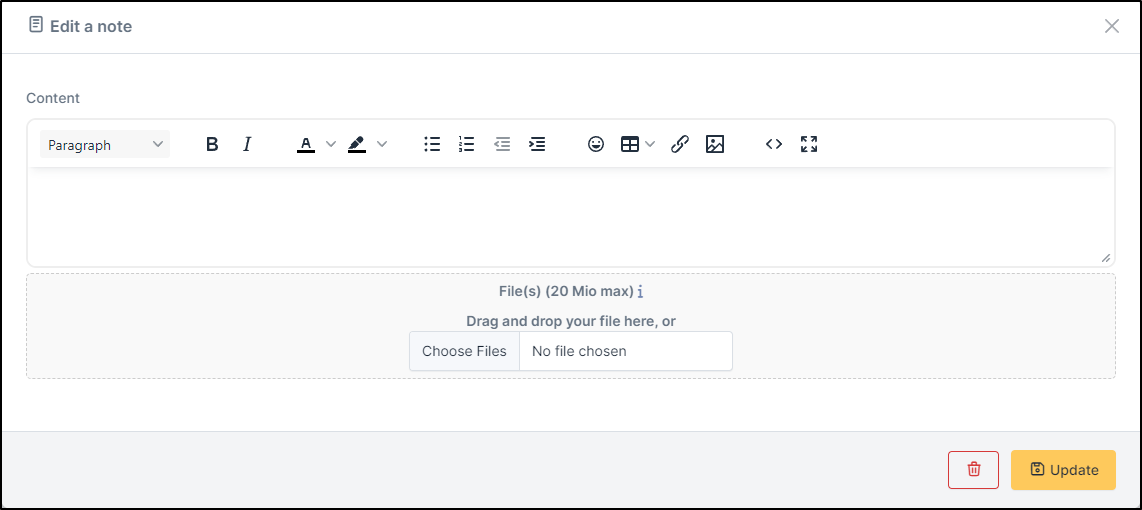
You can add text and format it to suit your needs
You can add a document to this note
Delete a note
To delete a note, you need to click on delete
You can delete only the attachment by clicking on delete (the option appears when you move your mouse over the attachment)

Astuce
When you delete an attachment, it is not completely deleted, you can find it in Management > Documents
History
The History tab is used to show any changes made to an item. The following information about the changes is available:
ID of the change.
Date and time the change was made.
User who made the change. If this field is not filled, it means that the action was done automatically (For example: automatic inventory update).
Field that was changed.
Description of the change that was made.
The description of the change represents either the difference between the old and the new value (For example with location field: Change HQ to Remote Office A), or the explanation of the action which was carried out (For example: Uninstallation of a software: « Gimp 2.0 »).
Note
For dropdowns or objects with a parent/child relationship, the modification of a child will appear in the history of the parent element.
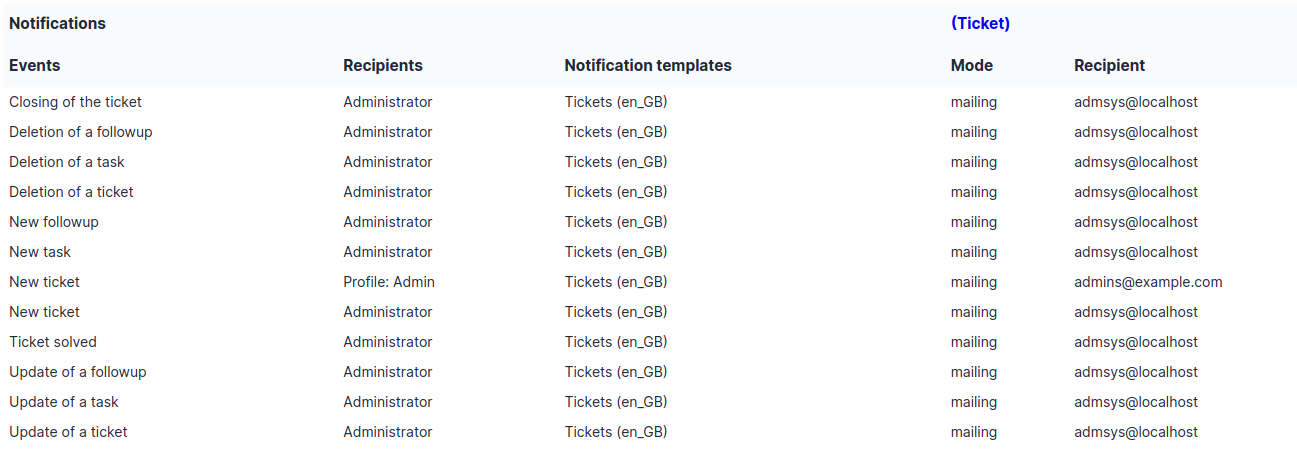
Debugging information
If you have Debug mode enabled in your preferences, a Debug tab will appear before the All tab. This tab offers information to help you resolve an issue.
For example, for a computer, you have one or more tables depending on the affected object (financial information, reservations…) listing the notifications that will be triggered on this computer with:
Triggering event
Recipient(s)
Notification model used
Recipient(s) email address
All Information
For an item, all information is displayed on one page from the All tab. This shows all of the tabs of an object’s form in one view, one below the other.