Software
GLPI allows management of software and their versions as well as licenses, associated or not to software versions.
A software is by default associated with an entity.
Financial management is done at the level of licenses; the financial management at software level is only a model for the licenses associated with this software.
Software can be imported automatically using a third-party inventory tool; in this case a dictionary can be used to filter or clean the import data (see Configure data dictionaries. Dictionaries are managed from menu entry Administration > Dictionaries).
It is recommended to first create the software without a version number in the name, then to create the versions and last to create the licenses.
Note
In multi-entity mode, the list of software can rapidly become long because of double entries (one software per entity). A better approach can consist in grouping identical software in the same entity (see tab Grouping below), then to make recursive the elements that can be made recursive.
It is possible to use templates with software.
Astuce
Note that if you modify a field manually, it will be considered locked. This will prevent it from being modified the next time the automatic inventory is uploaded.
For more information, see lock
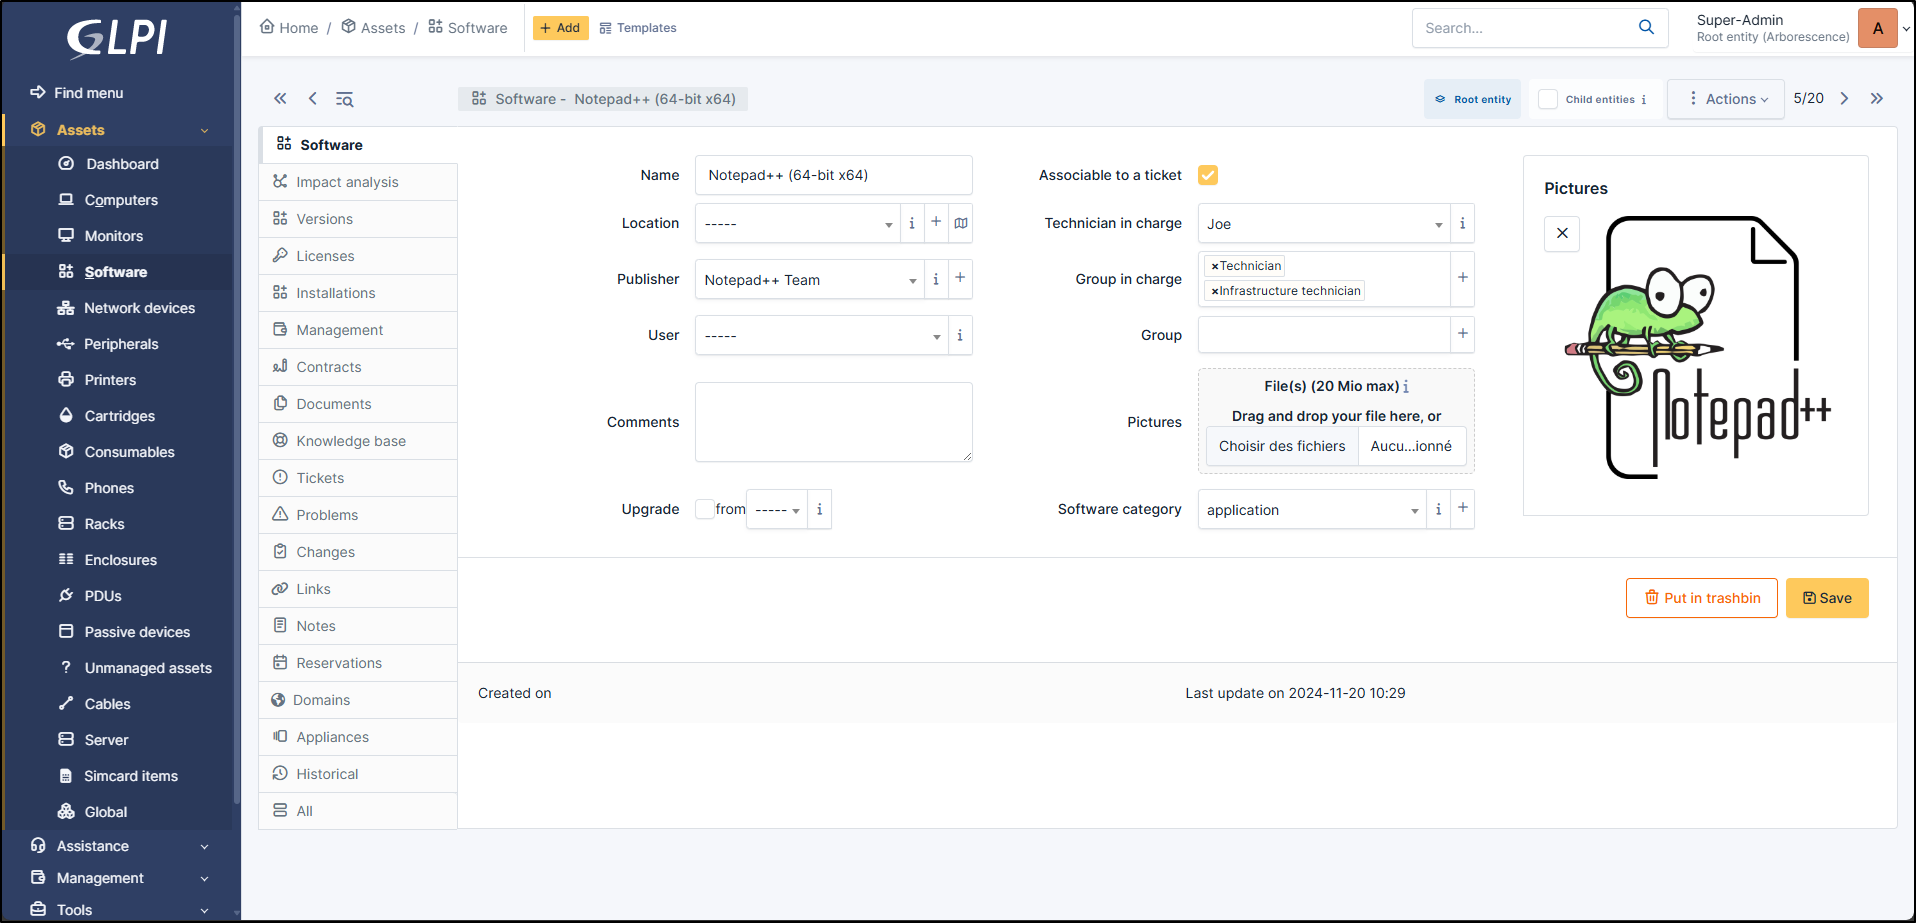
Some fields are specific in the software form:
Upgrade From is an information, with no processing associated and which tells whether the software is an update of another software
Software category allows to group software in the list of software of an asset
Associable to a ticket defines whether the software can be seen in the drop-down list « Hardware » of a ticket
Impact Analysis
Impact analysis enables an infrastructure diagram to be drawn up, showing the dependencies and impacts in the event of equipment loss. This can be saved and exported
Versions
A version of a software is the element that can be installed on a asset; see also *Installations* tab.
The main view lists the number of installations of the version.
Name: the version number
Status: in ITIL recommendations, it allows to follow the DSL (library storing authorized versions)
Operating system: the operating system on which this software version runs
Summary: overview of installations and entities in which the software is installed
Installations: the number of installations of the version
Historical: historical of the events
All: all previous elements
Licenses
Licenses play an important role in managing the software used in an organisation. They make it possible to manage software usage rights, to know who is using a license, how many are available and how many are being used. GLPI makes it possible to associate costs with licenses, which facilitates budget management. Licenses can be linked to equipment (computers, servers, etc.) or to specific users, so you know who is using what. It is also possible to set up expiry alerts.
Here are the fields available from this tab:
Name
Serial number
Number
Affected Items
Type
Purchase version
Version in use
Expiration
Status
Installations
The installation of a software on a computer is visualized through a version and can be consulted on a software form (list of computers having at least one version installed), on a version form (computers having this version installed) and finally on a computer form (list of versions of installed software, sorted by category).
Note
Column license is filled only when the license is affected to the concerned computer
The initial display of different categories depend upon user preferences. See manage preferences
Two options are available on the list of installations of software on a computer. Above the list, Install allows to install manually a version of a software on the computer, by selecting first the software and its version; if a license is associated with this software, the use version of the license is automatically selected.
To Uninstall a version of a software, mass actions must be used: first select the versions to be uninstalled, then select Suppress definitively. If a license is affected to the computer, it remains affected but its use version is erased.
Following the list of installed versions, the list of affected but non installed licenses is displayed. It is possible to add a new license to the computer. Mass actions allow, via the action Install, to install a use version of selected licenses.
Management
Management of financial and administrative information, this information is visible in the “Management” tab on the software’s form.
Documents
The document tab lets you link different types of file to a material (PDF, txt, png, etc.) You can attach a document already uploaded to GLPI or add a new one directly from this tab.
Knowledge Base
Lists all the articles in the knowledge base relating to the item.
Tickets
View all tickets linked to the software
Problems
This tab refers to all hardware-related problems. Problems can also be linked to tickets, projects, etc. This allows you to have a complete scenario when necessary.
Changes
Changes lists all changes related to a material. From this tab, you can’t link a change directly, you can do it from Assistance > Changes > Items. You can create a new change from this page, which will be linked to the material you have selected.
Projects
This tab lists all the projects linked to the software. Here you can only add a project that already exists. To create a new one, go to Projects
Links
Links offer several possibilities. Send the GLPI object file to another URL of your choice, or generate an RDP file, for example.
Notes
Note lets you add enriched text and attach a document.
Reservations
The reservation tab lets you reserve equipment, view the reservation schedule, or cancel the possibility of reserving this equipment. By default, equipment cannot be reserved; you must first authorize this action manually.
Domains
You can attach Domains to your computer. Domains are also linked to other objects such as records, problems, etc.
Appliances
Appliances includes all business applications managed within GLPI. They can be linked to another GLPI object (computer, application, etc.) as well as to another appliance.
History
The History tab is used to show any changes made to an item. The following information about the changes is available:
ID of the change.
Date and time the change was made.
User who made the change. If this field is not filled, it means that the action was done automatically (For example: automatic inventory update).
Field that was changed.
Description of the change that was made.
The description of the change represents either the difference between the old and the new value (For example with location field: Change HQ to Remote Office A), or the explanation of the action which was carried out (For example: Uninstallation of a software: « Gimp 2.0 »).
Note
For dropdowns or objects with a parent/child relationship, the modification of a child will appear in the history of the parent element.
All Information
For an item, all information is displayed on one page from the All tab. This shows all of the tabs of an object’s form in one view, one below the other.
Grouping
This section describes how to group software having same names in sub-entities, allowing to group software of child entities into mother entity.
Note
This is only available for multi-entities platforms.
How to realize a grouping:
If the software does not exist in mother entity, create in this mother entity a software whose name is strictly identical to the name of software in child entities
Open the form of the software of the mother entity
Activate recursivity (sub-entities to Yes at top right); this will make a new tab Grouping appear after tab History
Open this tab; a list displays software having same names in child entities
Select appropriate lines and validate grouping
Avertissement
This operation cannot be undone
This grouping have the following effects:
Licenses are attached to the software in mother entity, but stay in origin sub-entities
Versions are merged, no more doubles in mother entity
Old software are moved to the trash
Note
When using a third-party inventory tool, some extra steps are mandatory:
Empty trash after grouping, otherwise synchronization will restore the old software in case of new version
Associate the same vendor to the new software; as the synchronization checks vendor name, a new software would then be created